Archives for category: kids projects

20120913-084446.jpg

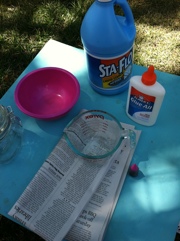
Difficulty: Easy peasy. Materials needed: Sta-Flo liquid starch, Elmers Glue-All liquid Glue, food coloring, measuring cup (optional), spoon, bowl, scrap newspaper or paper towel, and a airtight jar of some sort for storing it.

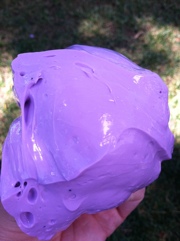
This was a rewarding project to do outside with my 5 year old. It turned out just like store bought silly putty but even better because we got to make it.
Arrange your arsenal of supplies:

20120802-143916.jpg

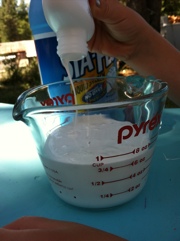
Measure out the glue, we used a whole bottle.
20120802-143930.jpg

Add the food coloring… Pretty!
20120802-143940.jpg

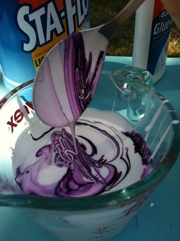
Pour into bowl, then measure the exact same amount of Sta-Flo as you used Elmers Glue. We used a measuring cup because reading about other peoples silly putty adventures, getting equal amounts is key.
Pour Sta-Flo into the bowl now and stir.
20120802-144004.jpg

20120802-144012.jpg

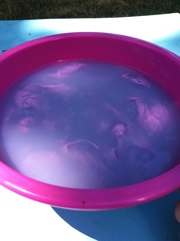
Whoa! Looks crazy! Let it soak for about five minutes, stir again.
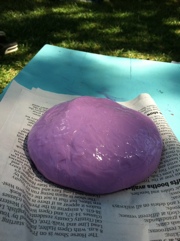
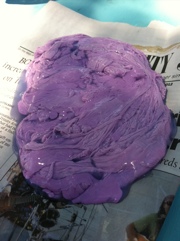
Take the gunk out and let sit on newspaper or paper towel for a couple minutes to drain off extra liquid.
20120802-144020.jpg

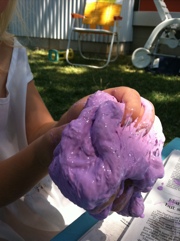
Then squeeze and press the stuff till it resembles silliness.
20120802-144030.jpg

And then play.
20120802-144046.jpg

20120802-144054.jpg

20120802-144104.jpg
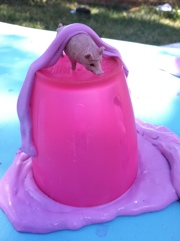
This putty is such a cool texture, it stretches and melts but doesn’t leave visible residue on hands or table. Note that if for whatever reason water or liquid gets on it, it will make a horrible mess! Keep it dry for sure.
Store in an airtight container and enjoy day after day.
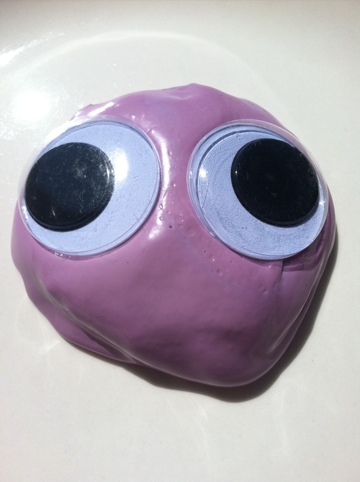
For a birthday present idea, put the putty in a cool container, and throw in a couple of google-y eyes. For a batch that made about a cup of putty, it cost around $2.37, add $1 for a latch top airtight glass from the dollar store and you’ve got a unique fun gift to give for under $5.
20111028-212125.jpg

Rated: Easy to Moderate (because of running a drill)
Materials Needed: Acorn caps, a drill with drill bit, wire or string, beads (optional), spray paint (optional), necklace clasp (optional)

    No need to spend money on new jewelry, look outside under your local oak tree. Free and biodegradable 🙂
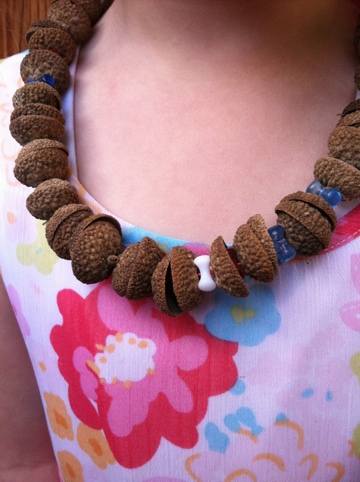
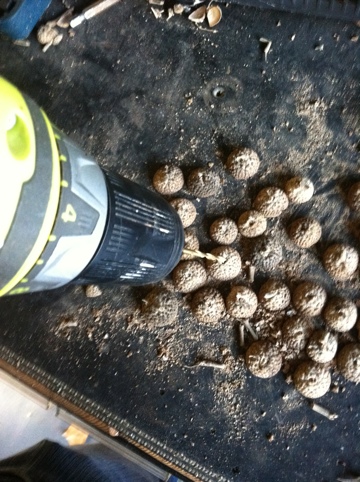
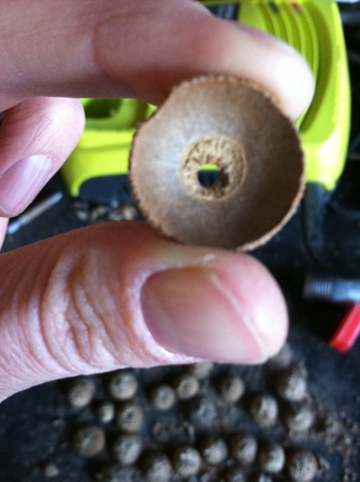
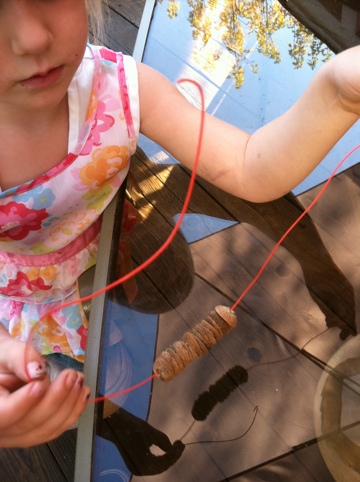
    Gather the acorn caps, more than you think you need. Next, Prepare to drill every cap, choose a drill bit that will work well with your choice of necklace wire or string. Find center and drill away. Drilling the holes took some time but man oh man does my daughter love her necklace. She wore hers all day, and the day after.

20111028-204454.jpg

20111028-204540.jpg

    Now that you have a bunch of acorn caps with holes, it’s time to create the necklace. Tie one cap to the end of your wire or string (or use your necklace clasp) and then begin to bead them. I thought open end to open end would look awesome, like wooden beads, but what do I know. My craft volunteers like to mix things up.

20111028-204714.jpg

    When all the string/wire is filled, save some room and create a loop to go over the opposite end of the necklace. Or, if you have a professional clasp, use that.

    And here we have the finished product. Yay!

20111028-204746.jpg

    Even though we kept the original look to the acorn caps, you could always spray paint the caps to any color.

20111022-205427.jpg

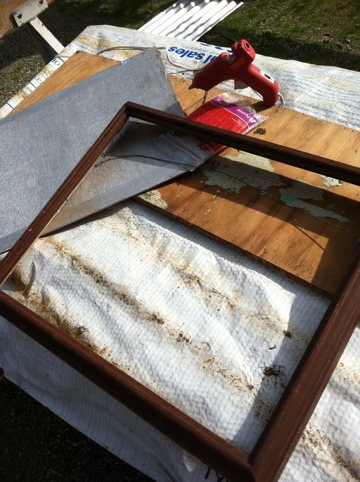
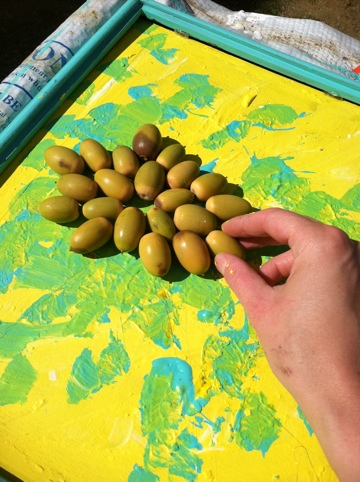
Rated: Easy! Materials Needed: Acorns, glue gun with glue sticks, cheepo frame with backing, paint (optional)

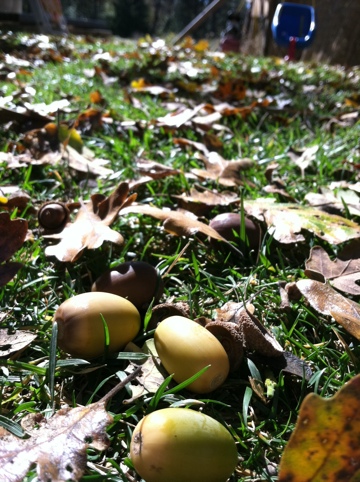
    Oh the many acorns in our yard. If only there were some sort of use for them…. Hmmmm…. What else is there an abundance of in this world of ours? Horribly ugly picture frames with no glass in them. Stop by any yardsale or thriftstore and find them priced at .10 to $1.00.

    Our local thriftshop charged me: $1.00 for the one in the pictures

20111022-205511.jpg

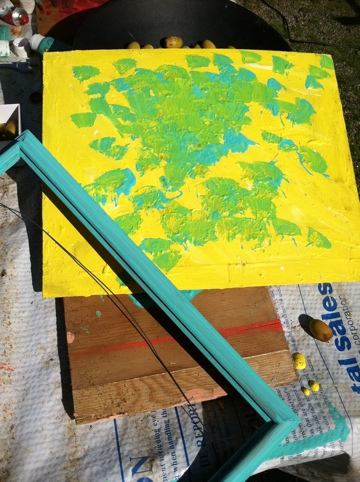
    Paint your frame if you want to because fall colors are more than brown you know…
    Also, since you will see part of the cardboard backing through the acorns, paint the cardboard to a color you like.
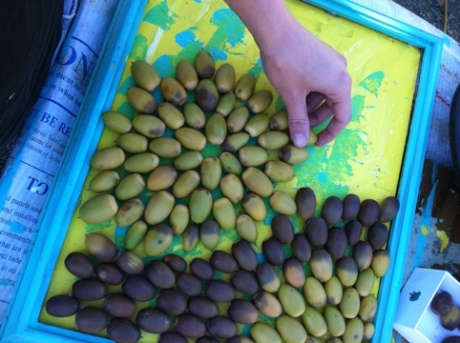
    Then use your hot glue gun and glue glue glue.

20111022-205633.jpg

    I laughed at how ridiculous it seemed to glue acorns onto a board but it was actually pretty fun seeing the colors and shapes blend together.

20111022-205738.jpg

20111022-205837.jpg

    The end result looked very 70’s macrame. I imagine you could hang it on the wall for the fall season or use it as a back drop for things to go on top of it like family pictures or a welcoming message to guests. If you happen to have a business open to the public, attach your daily specials or sales promo with double sided tape or more hot glue.

20111022-205921.jpg

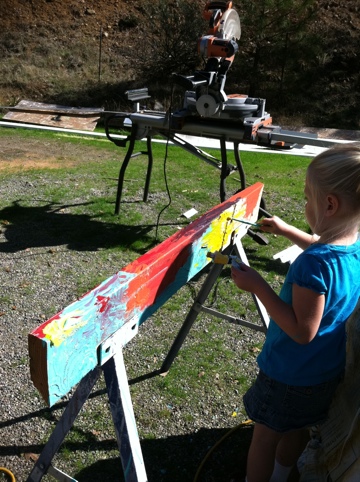
    All in all, it was great to be having fun outside and goofing around with acorns but my joy was definitely seeing my girl create some art of her own. Amazing!

20111022-210104.jpg

Creating Carie is about pulling out the gifts in us. Where ideas are tried and shared, using the objects around us to create solutions for life’s opportunities.

On this site, you’ll find fresh ideas and old ideas with new life breathed into it. Remember that guy who said “there’s nothing new under the sun.”? I totally can relate to what he’s talking about. However, just because the fall season comes every year at around the same time, is it ever boring? Heck no. There’s always creativity to be sought out even in the most repetitive looking projects and ideas.

Carie

20111019-125728.jpg